September 10, 2022

No matter how fast you set your shutter speed, you can’t shoot handheld images as sharp as if you had a tripod. You don’t always have a tripod with you though. Sometimes you don’t even have the luxury of using a fast shutter speed! Sharpen AI can fix blurry photos in post so they look like they were taken from a tripod. Here are three quick steps to getting sharper photos.
One of the major differences between Sharpen AI and other photo sharpening software is its ability to fix blurry images by getting to the root of the problem. Photoshop's sharpening filters and many others sharpen by increasing edge contrast, making your photo appear a little sharper but not actually solving the issue at hand.That's why Sharpen AI has three different AI models that are trained to correct image blur:
Sharpen AI can automatically detect which mode will correct your images too and the best settings, saving you the tedious back and forth tinkering.

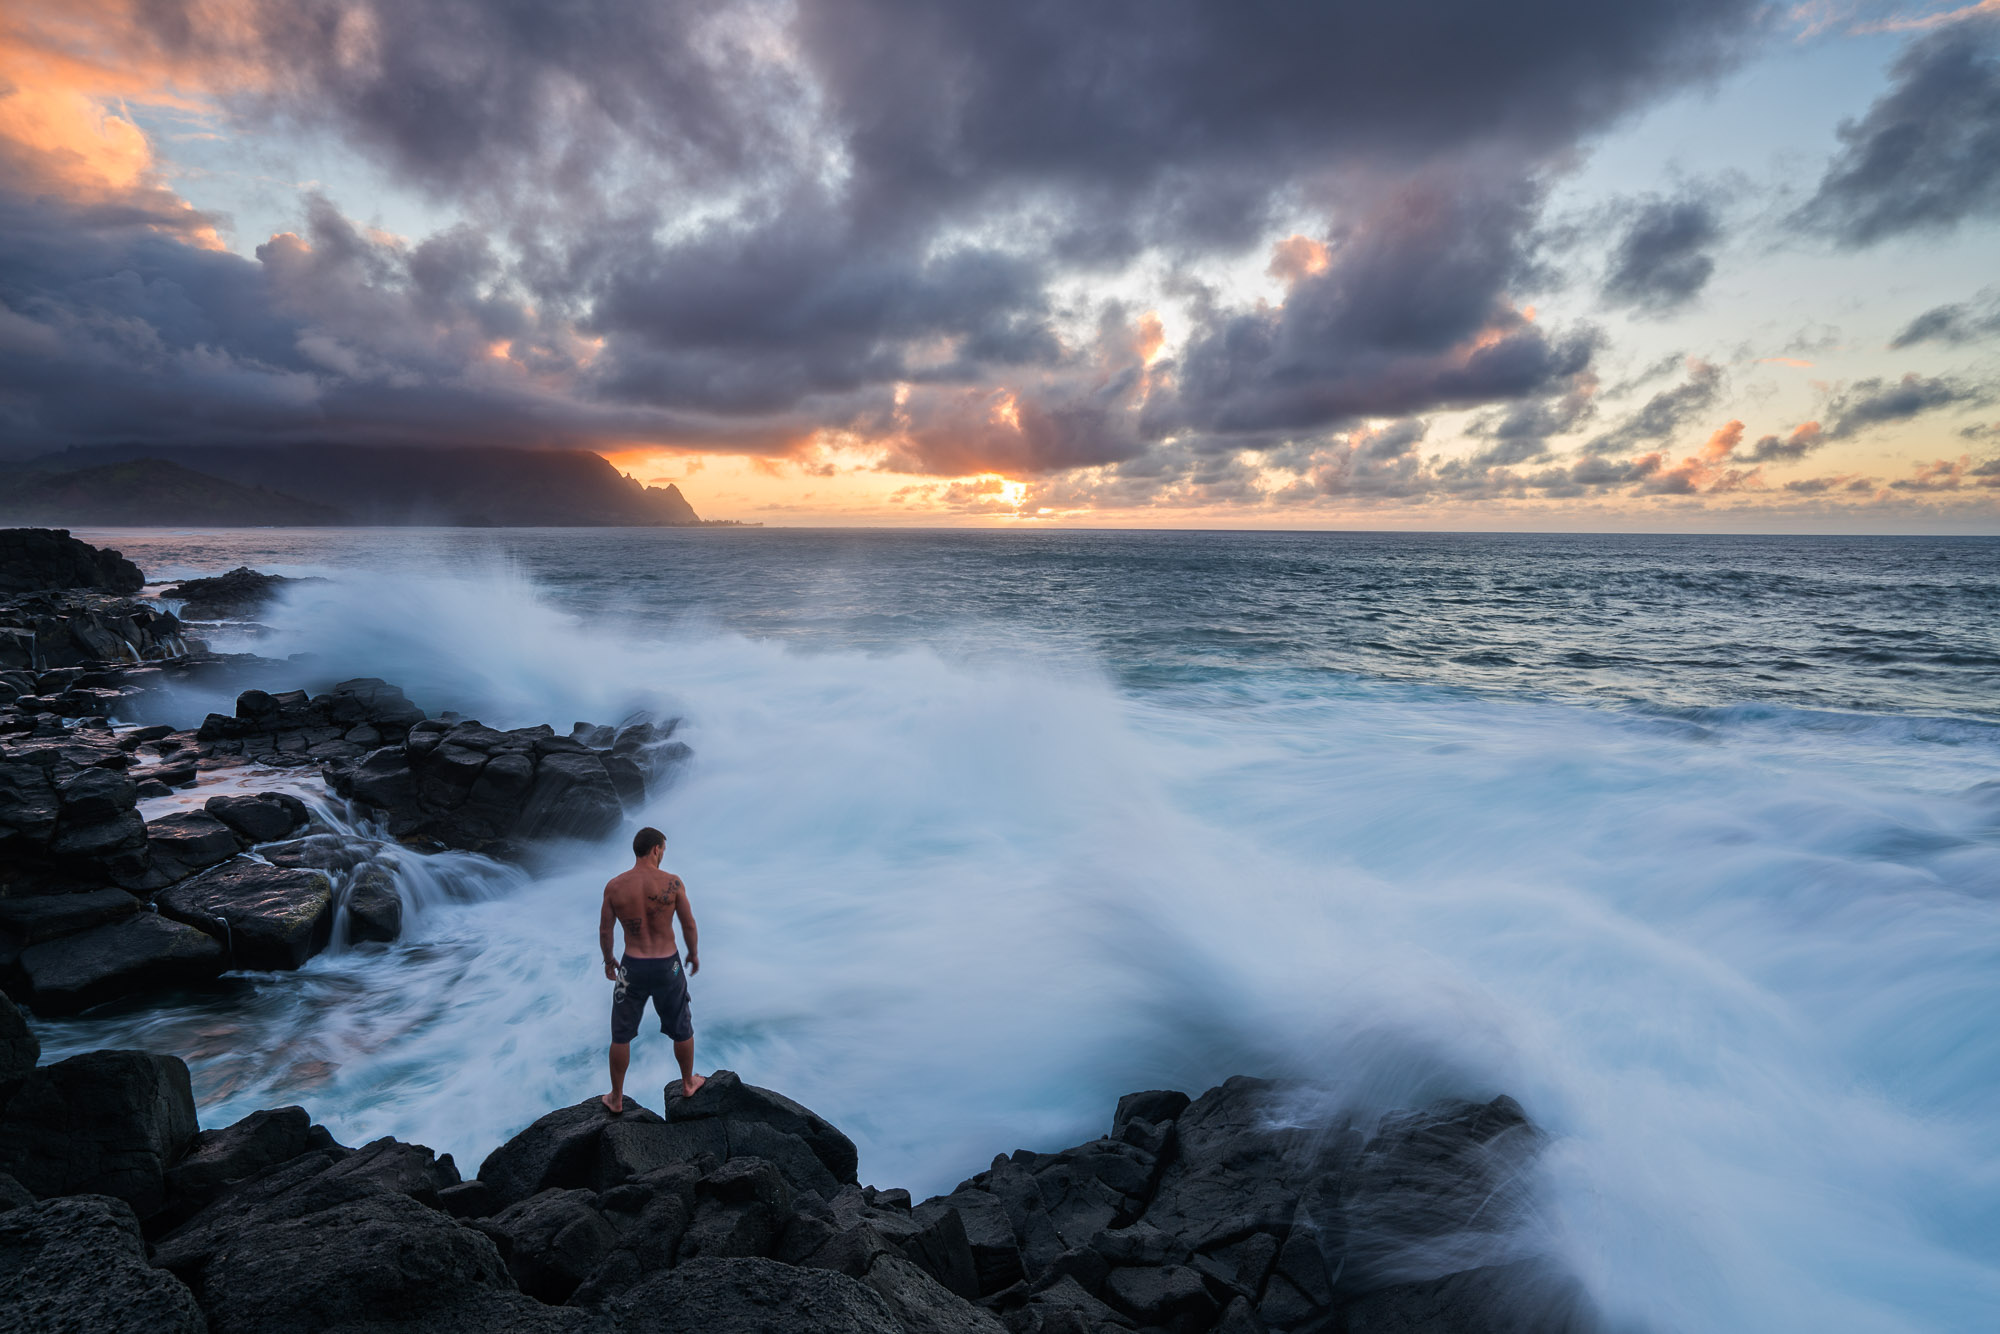
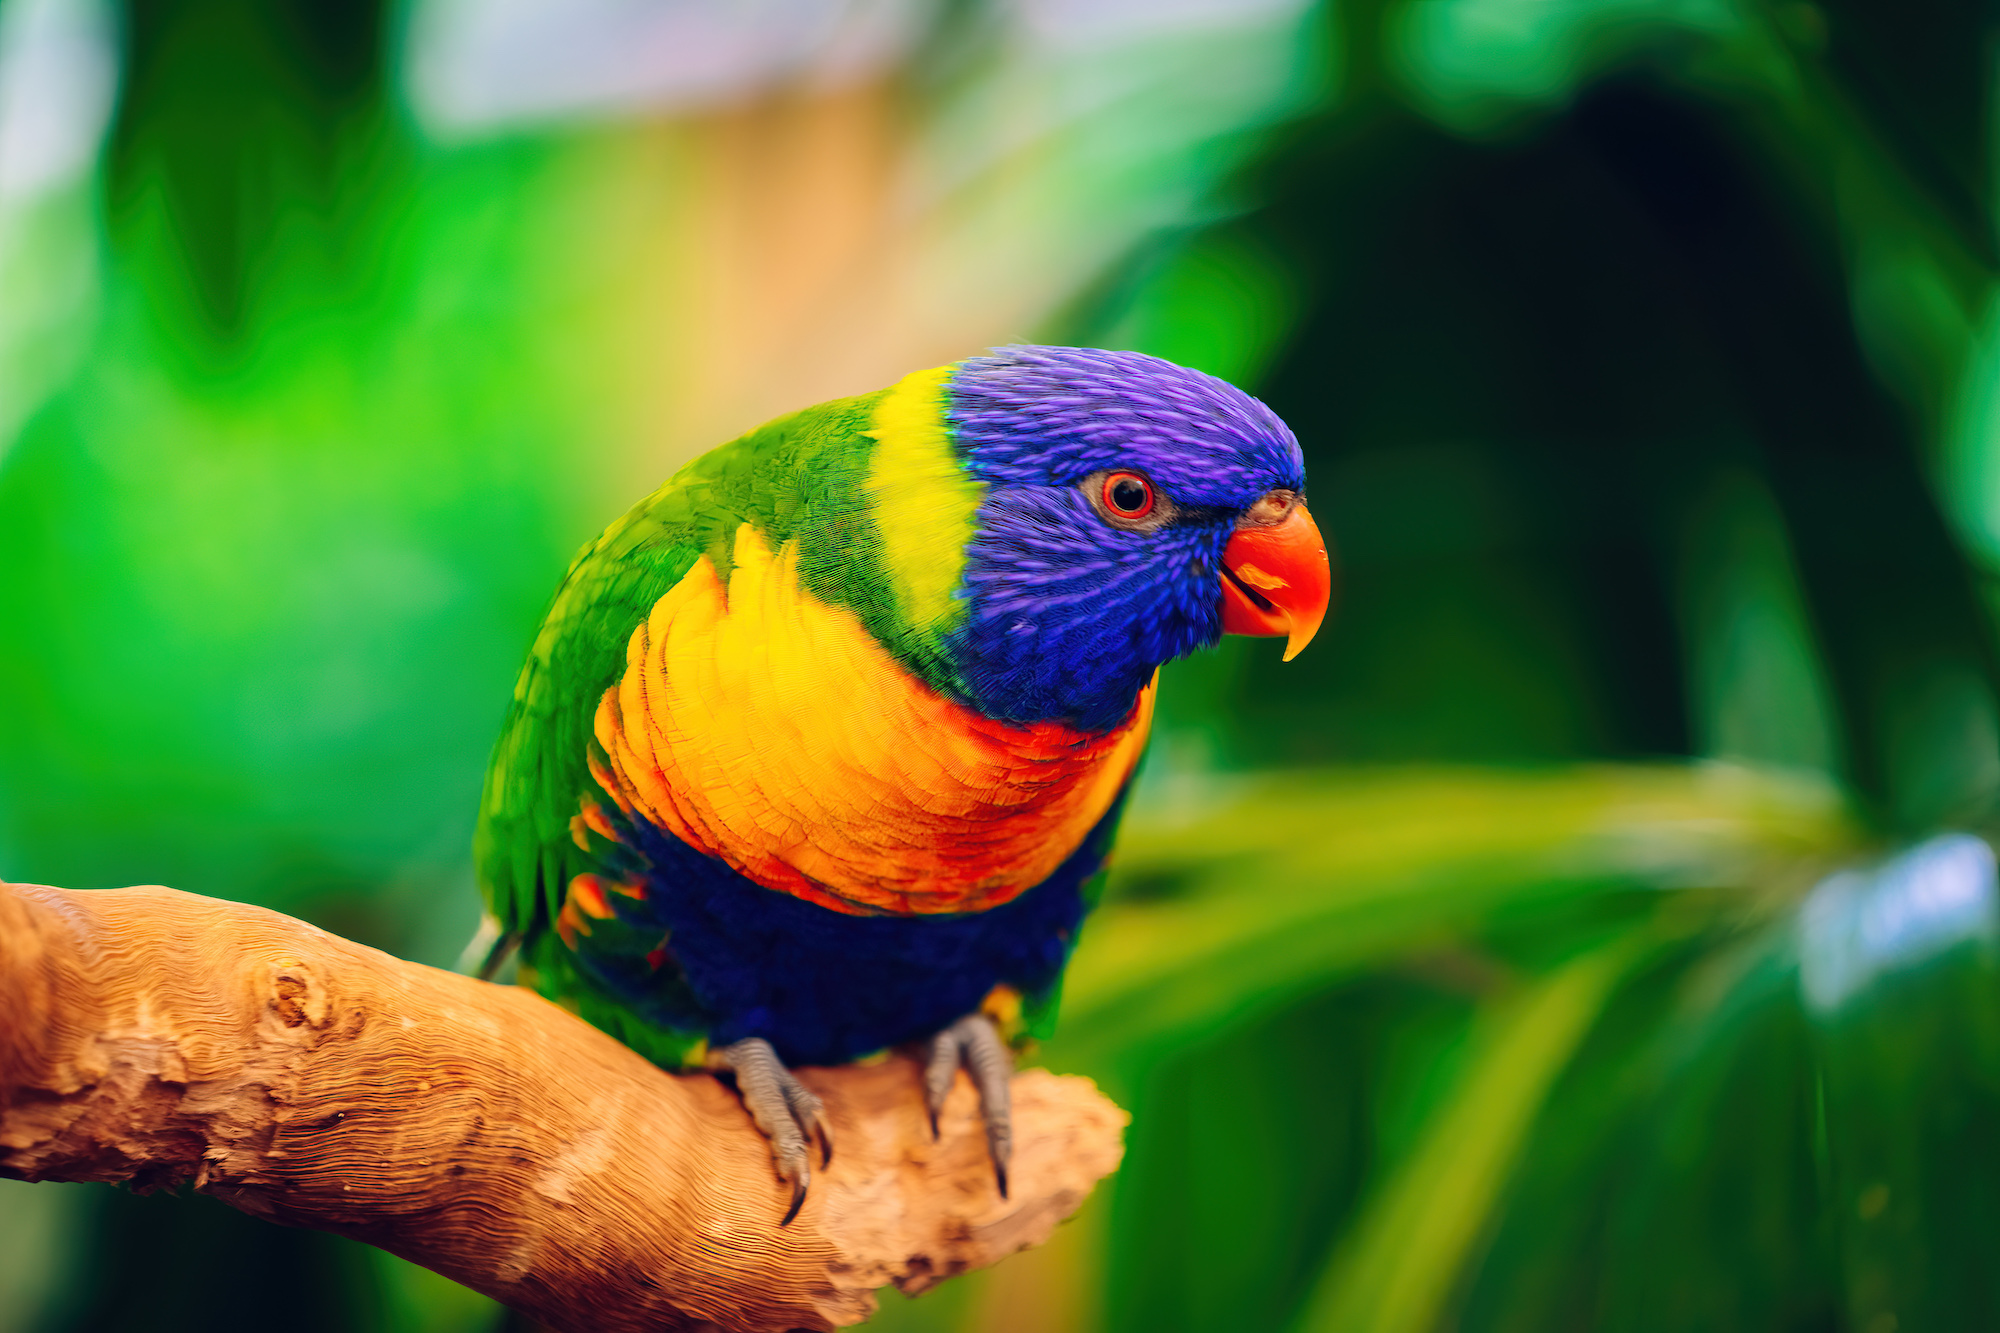
Here's an example of Sharpen AI’s Stabilize module to correct camera shake and the inevitable motion blur you get from fast-moving subjects, like wildlife.

In your sharpening workflow, you'll likely come across images with subjects you’d like to bring into focus or sharpen more selectively than applying the effect to the entire image.Let's say you want to keep the blurred city background but correct the soft focus on the model's face and hair in the image below.

To keep unnecessary artifacts appearing in the background, Sharpen AI automatically detects subjects for sharpening and applies a mask to selectively apply the sharpening effect. No complicated layer creation and brushwork needed.
We also timed how long the process took to get this result in Sharpen AI with Focus mode and automatic masking versus Photoshop with layering, brushwork, and tweaking in the Smart Sharpen module. Sharpen AI took roughly a minute and 30 seconds, while Photoshop took roughly about 5 minutes. Depending on how many images you need to edit in a session, this could really add up.It'll pick up different types of animals, motorcycles, cars, planes, and more. And no other sharpening tool offers this kind of feature, so take advantage of the latest technology and work smarter, not harder.
Speaking of those sessions when you're dealing with several snaps that are blurry, what's the best way to tackle those soft images?Because let's face it, most images come out of the camera a little softer than you'd like, so you can import multiple images into Sharpen AI for quick and easy batch processing.
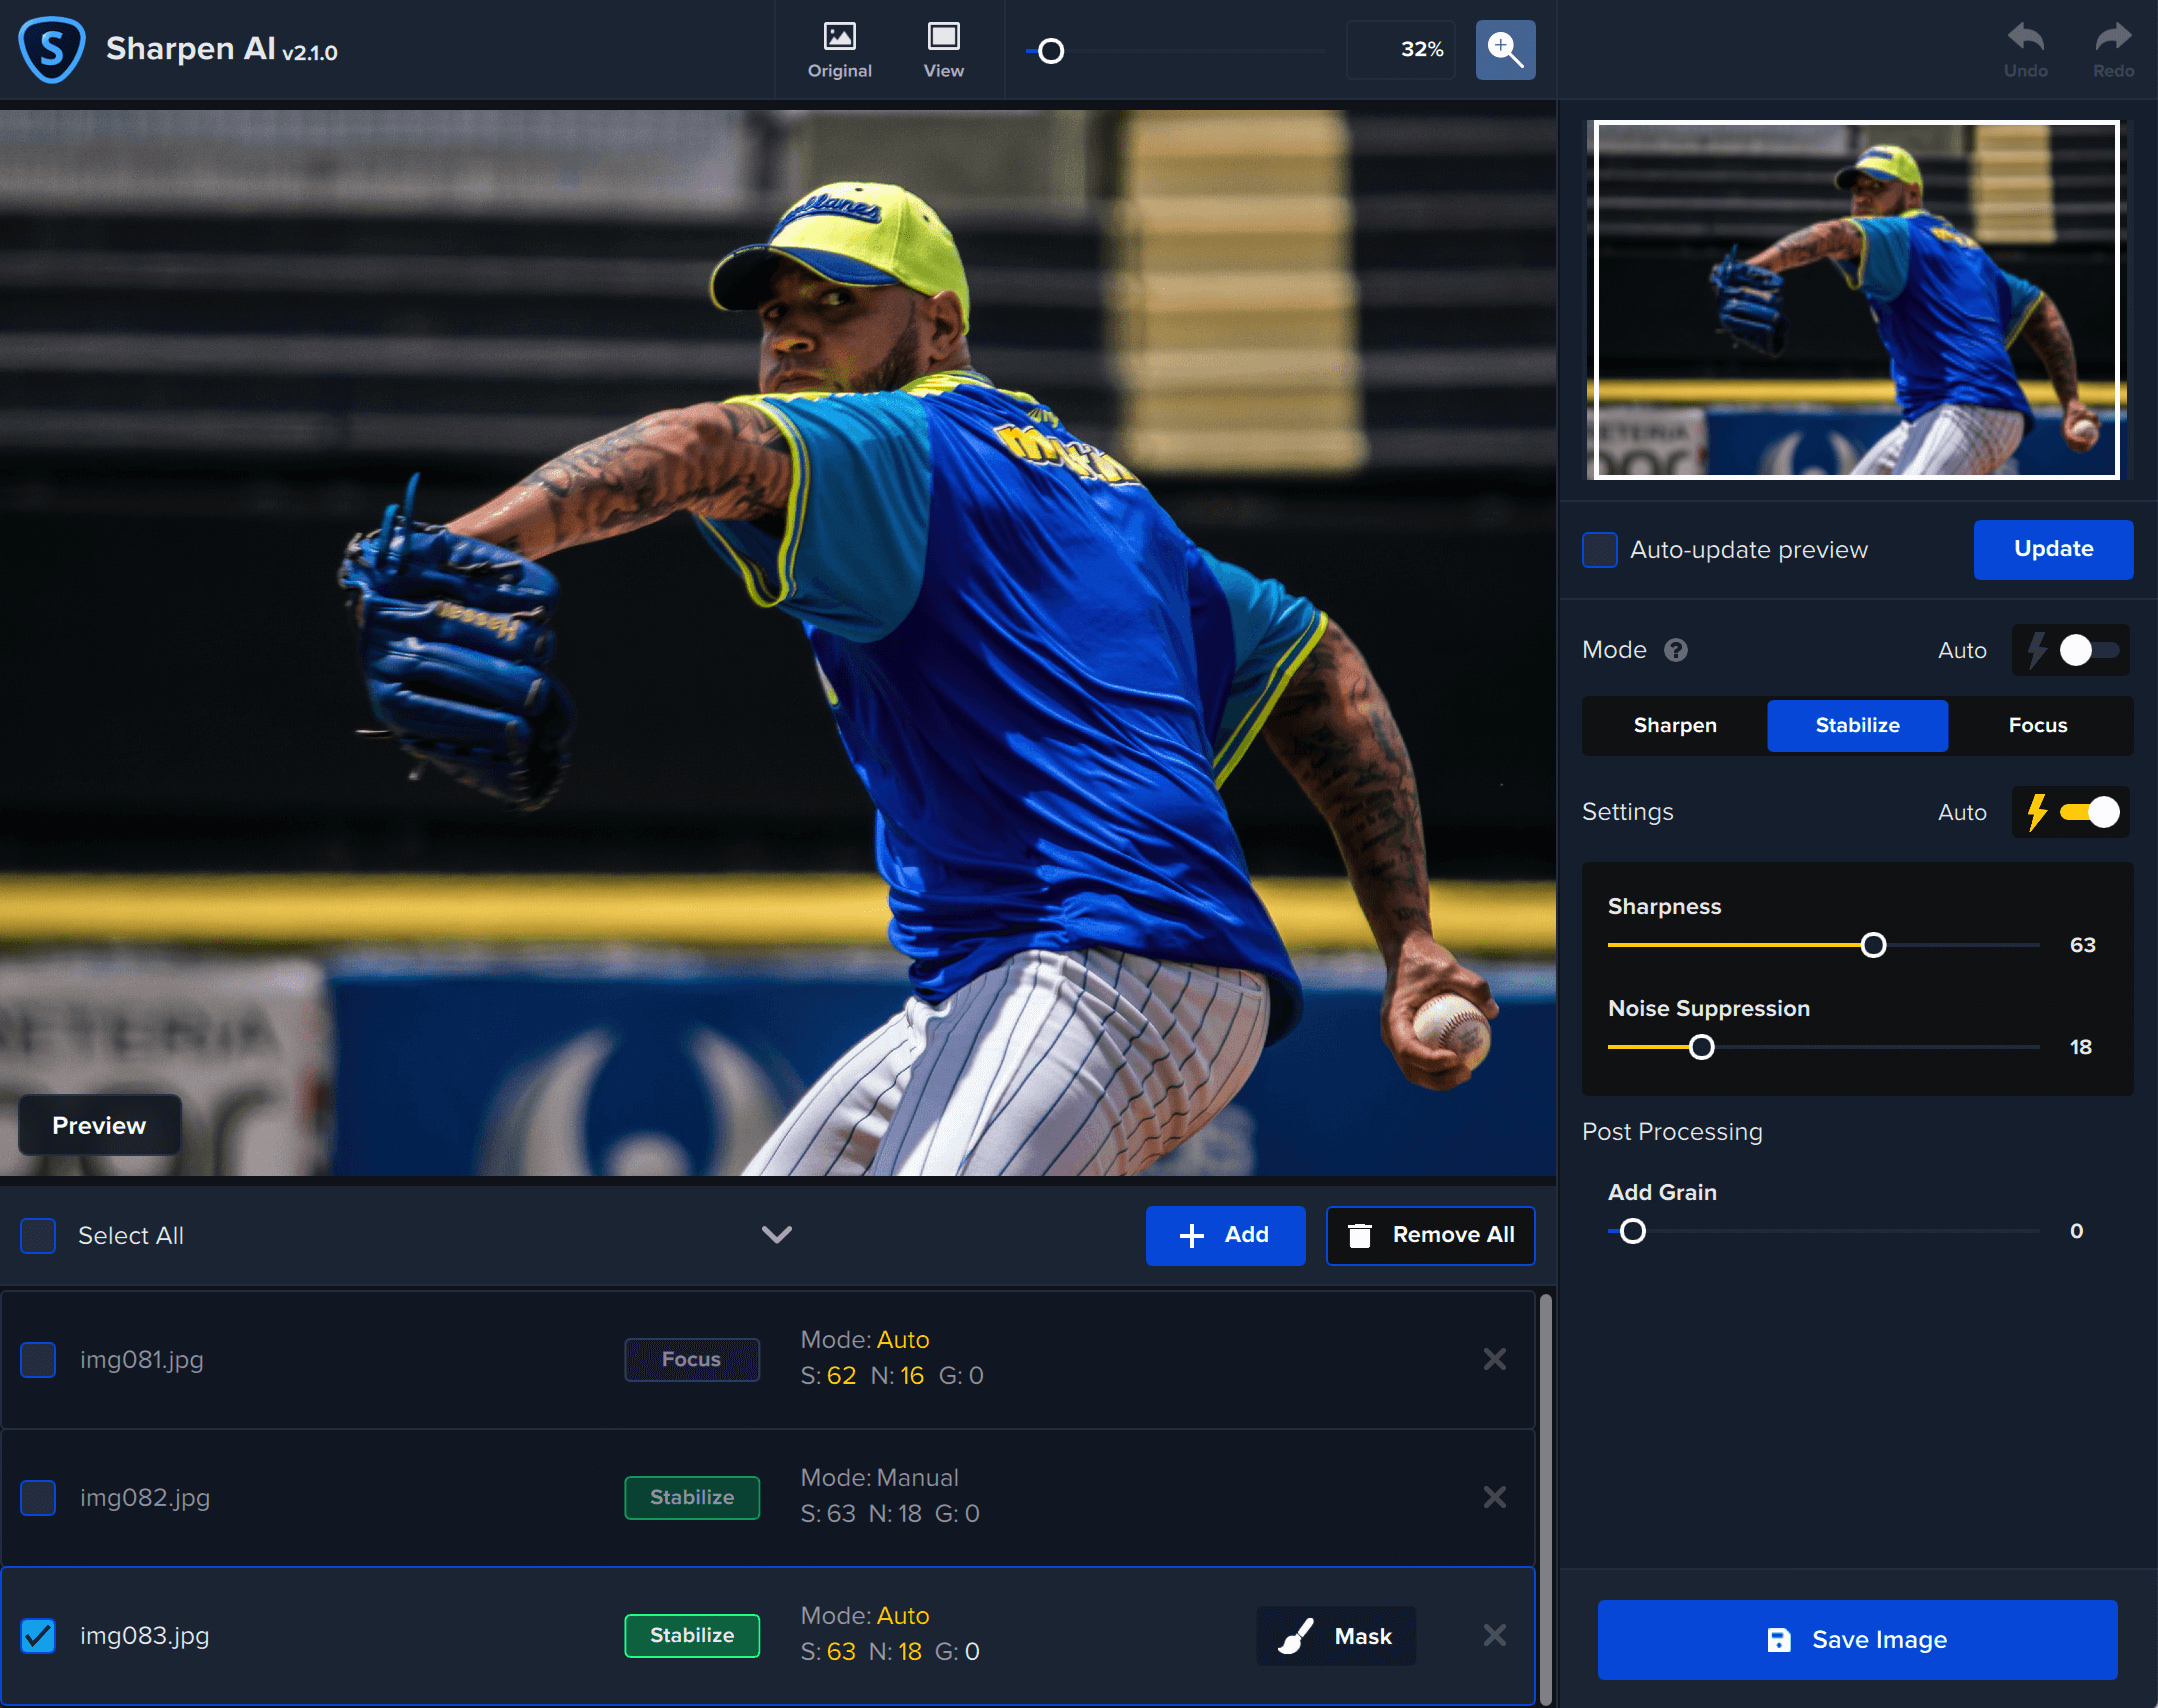
You can apply the same settings to all images for rapid processing.You can also single out an image, or a handful of images, and apply different settings before completing your batch process.
If you're like most photographers, you want to find photo sharpening software that offers powerful technology with as little user input required as possible. Save more of your time and more of your images and try Sharpen AI for free today!

© 2005 - 2024 Topaz Labs. All rights reserved.